Appointments - Checked In
Overview
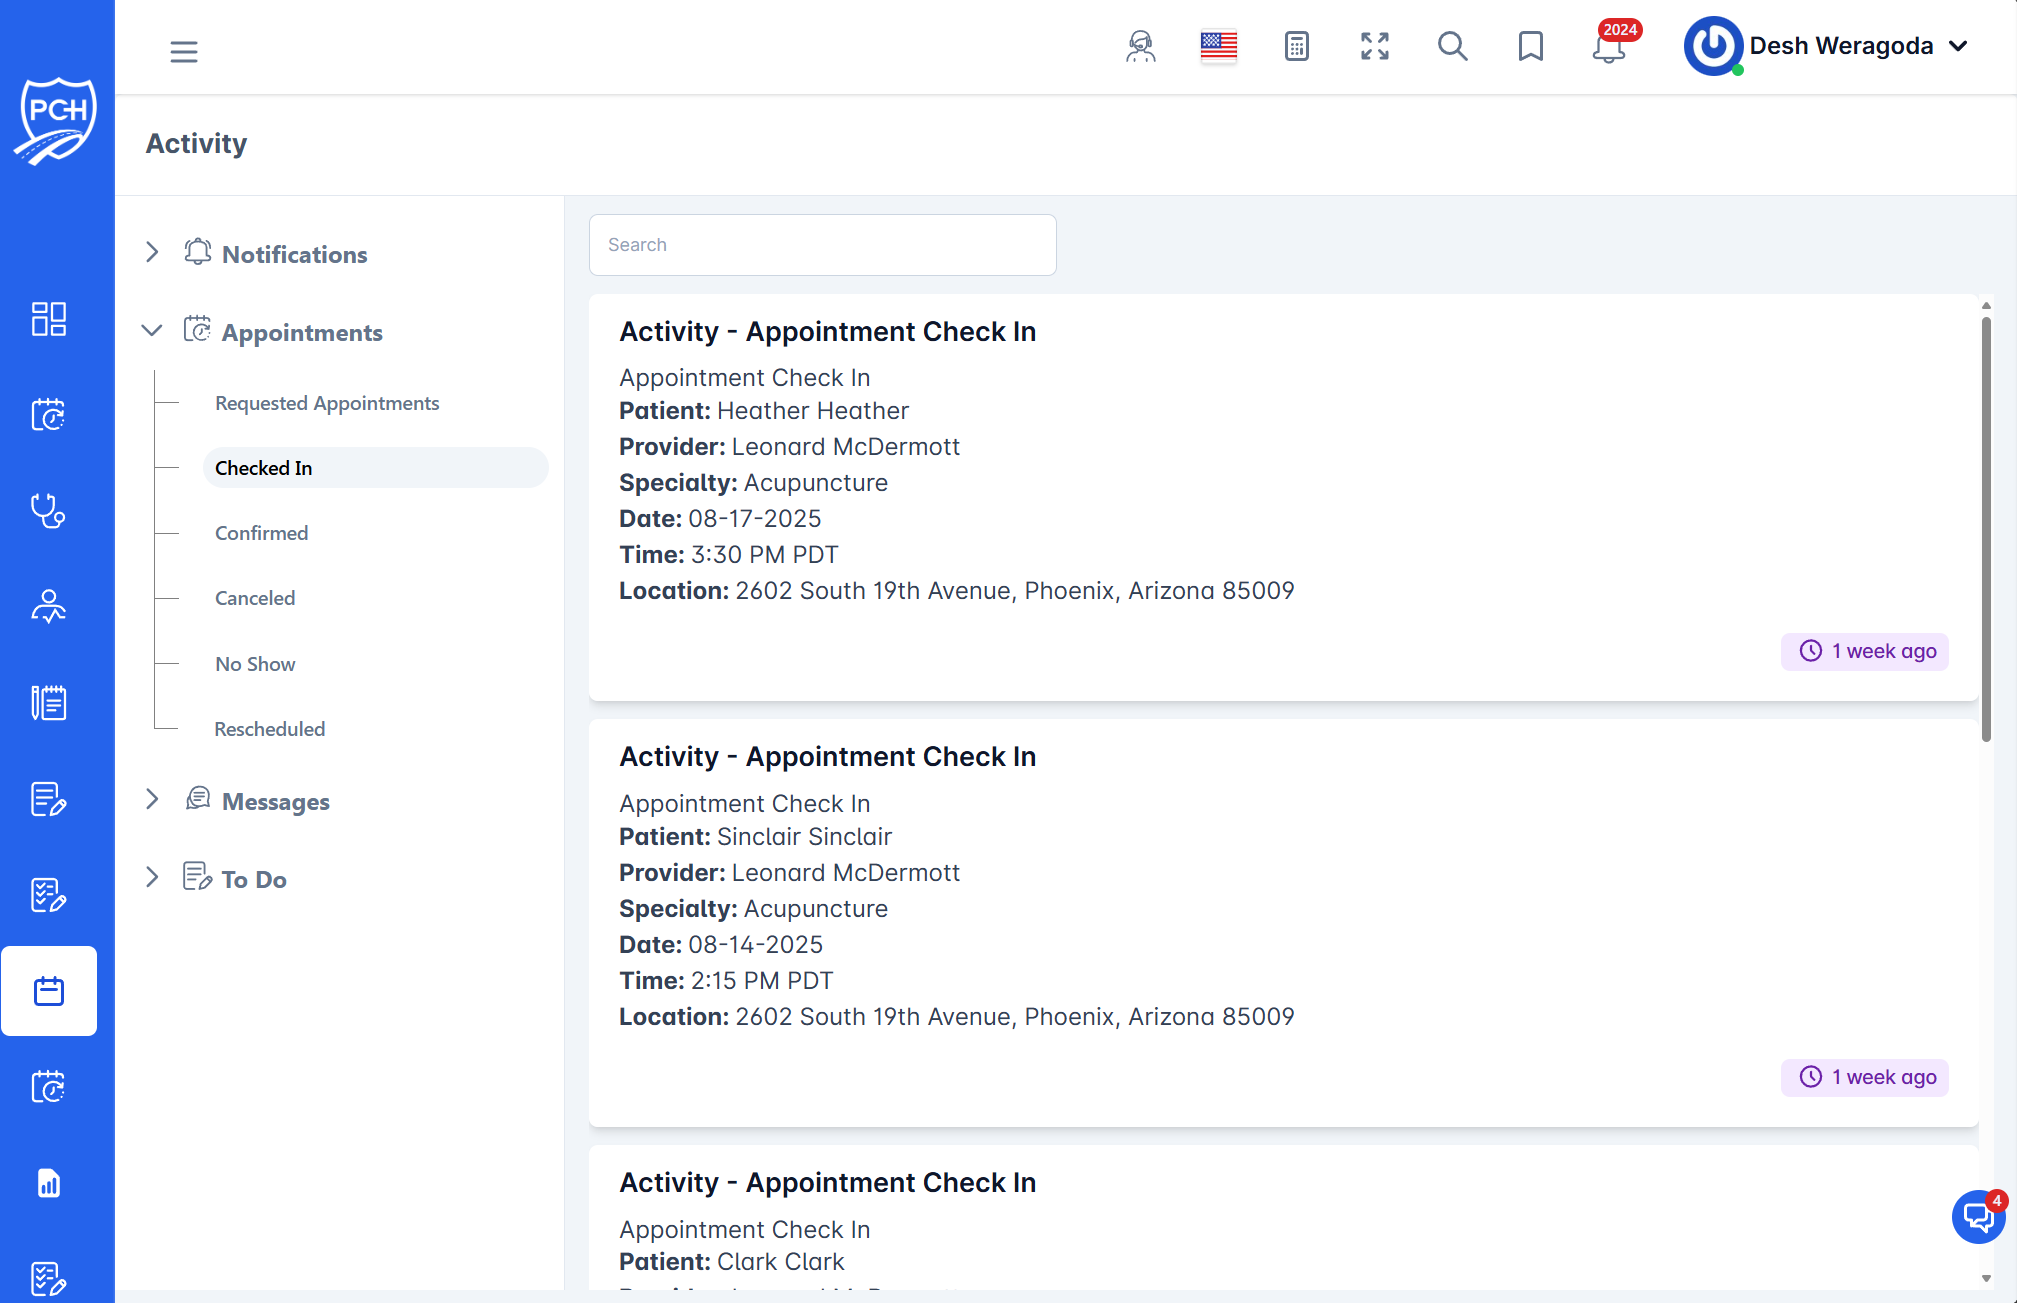
When the patient arrives and the provider checks them in, an entry appears in the Appointments > Checked In feed. This confirms attendance for the attorney and case manager and also signals the PCH Medical Records department to follow up for visit records.
What each card shows
- Title: "Activity - Appointment Check In".
- Patient: Patient name.
- Provider: Treating provider/facility.
- Specialty: Provider specialty.
- Date and Time: Scheduled appointment date/time with timezone.
- Location: Address of the appointment.
- Timestamp badge: When the check-in was logged (e.g., "1 week ago").
Behavior
- Trigger: Provider marks the appointment as Checked In in their workflow.
- Notifications: Appears in the attorney/case manager activity feed confirming the patient showed.
- Downstream: Triggers PCH Medical Records to begin record retrieval for the visit.
How to use it
- Review check-in details to confirm the visit occurred.
- If next steps are needed (e.g., request imaging, verify lien forms), create tasks in your case workflow.
- Monitor the Documents section for the uploaded records from the visit.
Tips
- Search: Filter by patient or provider to find specific check-ins.
- Follow-up: If records are delayed beyond your SLA, check the case’s Records queue and contact the facility if needed.
Troubleshooting
- Check-in missing? Clear filters, ensure the provider finalized the status, and verify the correct case.
- Incorrect details? Confirm the appointment in the scheduling module and update if necessary.